I’ve always had a dream to make my own portable radio for some reason and now with help from my friend, we can make that happen. Using a single din car stereo, an old Ford Edge speaker, and some CAD we believe we can make a wicked cool portable radio. More 3D models will appear here as we continue to make changes to the design along with a more detailed explanation of the inner workings.
Features
- AM/FM/BT Radio
- Coax antenna
- Voltage Meter and battery percentage meter
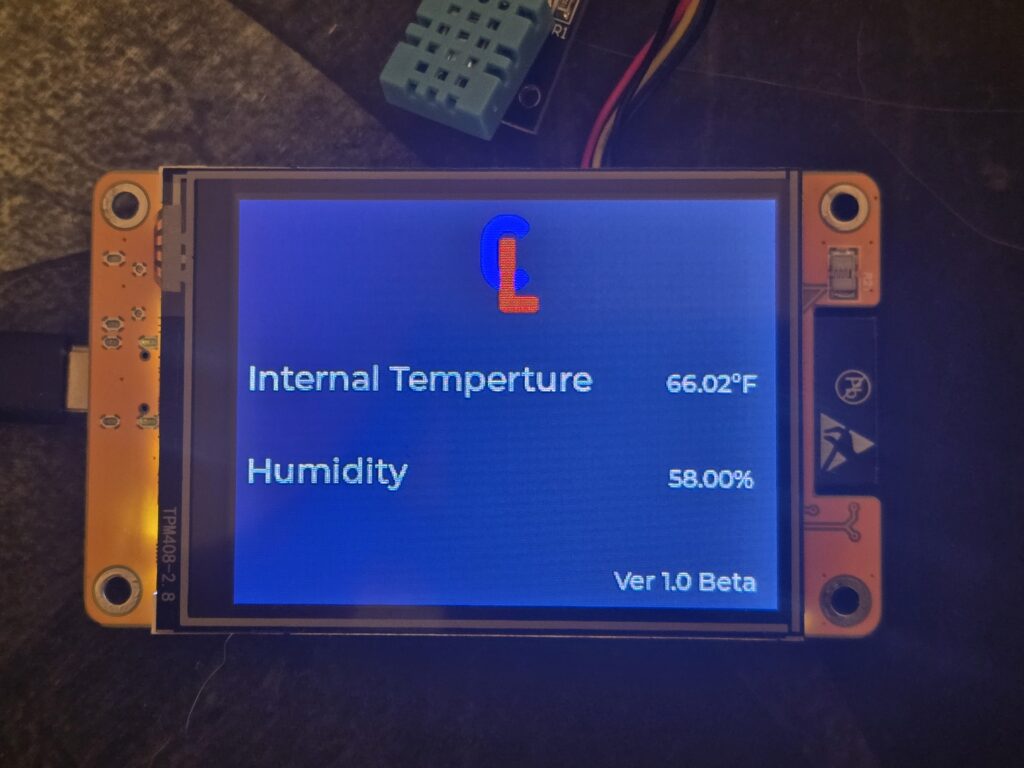
- LCD Screen for Temperature and various other stats
- Built-in USBC battery charging
- 20Ah Battery
- 6×8” speaker
- Fuse Protection
- Thermal Protection
- 3D Printed Shell
First Concept
The Initial idea was pretty simple. I wanted a portable radio that I could use for work or at home when working on my car or other things. I first was going to use a double din radio with Carplay or Android Auto but, I decided that it was unnecessary as a V1 so I stuck with a single din. Below are the original mock-ups
Friend Steps in
After I made the original concepts I asked my friend (who was better at CAD than me) to check my designs over and see if they would work for what I wanted. Short answer: Not really. See, my goal is to 3D print the shell in 1 or 2 pieces so, it has to fit on my build plate. and needs to be designed with that in mind. When I did it, it was going to do a lot more support and well, it would have looked way worse after the print not to mention many parts like the battery would not fit well or at all. So then he stepped in and started helping me with the radio project as a whole. Below are the Designs that he made.
Front
Back
Upgrades (Current Stage)
Here is where the simplicity starts to end. While gathering the parts we decided, why not add more things to it since we’ve got a lot of room to work with. So, we are going to make a custom PCB to handle all of our power distribution and circuit protection and other stuff like a powered antenna (Update (11/24/2024): This was ultimately removed due to the complexity of trying to fit it in. We are instead using a coaxial radio antenna) and ESP32 front LCD screen for status messages and other future ideas. Along with those changes brought USBC Charging. See before we planned to use 120v wall power to charge it. That kind of didn’t sit well with running 120v next to 12v components and it’s much safer using low voltage for everything. So, we added USB-C charging to the design. Below are the upgraded designs along with the PCB design.
Current Designs (11/28/24)
Body
LCD Display

PCB Design
Coming Soon.
Update (1/12/25)
It’s been a little while, so here’s an update on the project.
The PCB has arrived and is being tested. It took a little while to get them in due to the holidays but, on that end, that’s almost completed.
On the battery side, we determined that we are using the incorrect bettery for the job and unable to return it due to being outside the window, we are going to make due by bringing back the original idea of using 120v AC to charge the battery as it will be both cost saving and space saving.
The CAD is almost completed to do a test print. We have to modify the back to hold the AC charging plug along with mounts for the PCB and various other small details.
Overall, the project is still going smoothly, just taking its time to do limited spare time.
Update (3/29/25)
Wow, it’s taken a bit to get here
The radio is close to being done. We are in Battle testing mode. The radio is just about fully functional with a working prototype.
Here is a list of what has to be done
- ESP32 isn’t controlling the radio yet
- Final reprint of the case in PETG
- Dual speaker setup (currently a signal Ford speaker)
- Needs a better handle
Well, even though we aren’t done yet… We are starting to plan out V2. A page for V2 will be under brainstorming ideas during the planing phase.
0 Comments